Welcome!

Making my journey through life, but taking you on my stops along the way!


Showing posts with label Home Improvement. Show all posts

Sunday, October 2, 2011

Nightstand Re-Fab: Part Three

It's FINALLY done! It took me a week, just 7 teensy days to revamp the entire thing. I feel like it took SO long, just because I had to brainstorm a ton for it, execute and make sure it looked good!

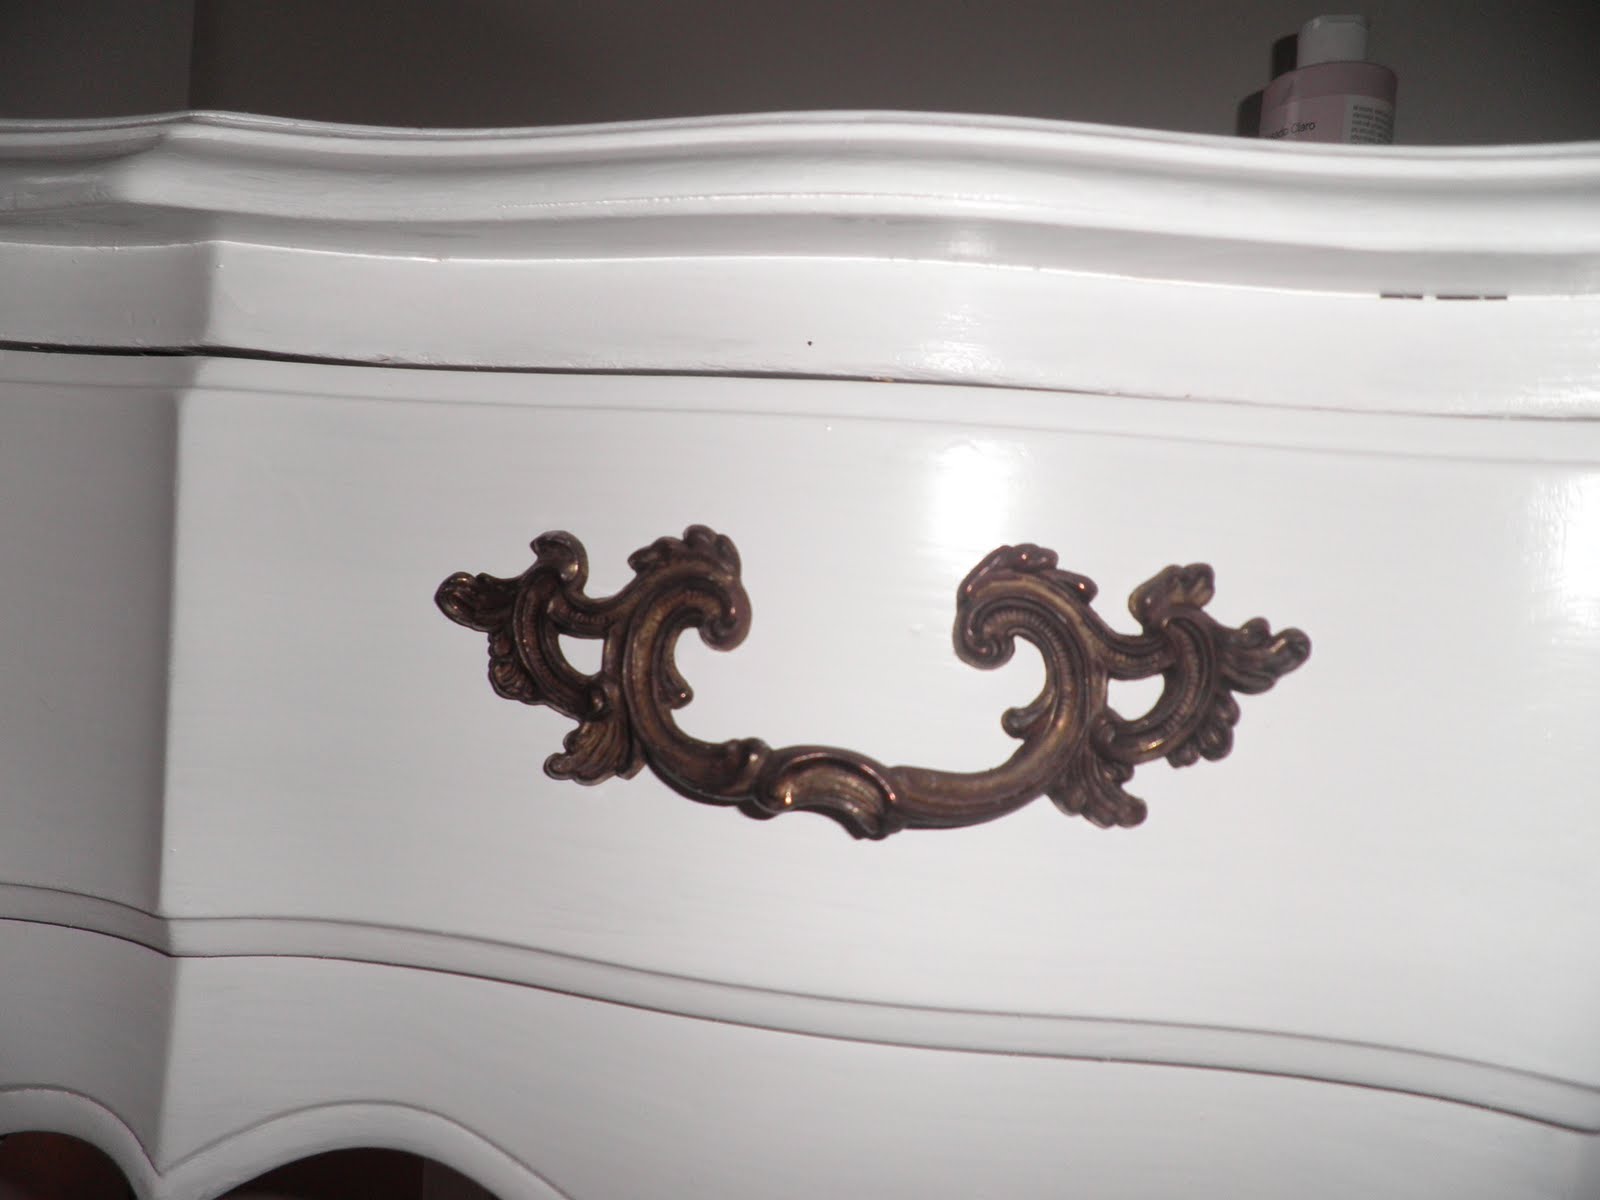
So the finishing touches: add on the handle, and paint the details, and design the edges. Easy right? NO! Well reattaching the handle was..

Here are the pictures with the 2nd coat of paint on and what I started with for the night.


So first, I painted the drawer edging blue, I did use tape for this part. Here, the tape worked great, especially because the curves in the wood made it a little difficult.

Then I painted the edges of the detailed section blue, and I decided to paint the edge of the legs to make them stand out a little more in the same color. I did use tape one on leg, but the amount of time it took compared to how impatient I am wasn't worth it. Plus, not having a ton of paint on the brush and using a small artist's brush was just what I needed! After I painted one edge of the leg, I realized I needed to paint the other because it didn't look right otherwise.

I also decided to paint the edge of the surface (again in blue) to make it pop a little more, and I think it really looks awesome!

So now for the detailed sections:
Going with my new bedding, I decided to paint the soon to be fabulous section gray. I bought a stencil at Michael's and wanted to put it on the detail of the nightstand. So I cut the section of the stencil I wanted, and used painter's tape to place it where I was going to paint it. Then I took a dobbing brush and painted blue over the stencil.

Then moved over to the other side, this one I messed up a little, painted outside the lines. I tried to wipe it off quick, but that chipped the gray paint, so I had to re-paint it all together (did I mention I'm impatient?)I used a wet paper towel to wipe off the paint and then a dry one to.. dry it.

So both sides are stenciled and all the edges are painted! I went back over each area, and if I smudged paint, I took a wet paper towel and sort of rubbed it off (the beauty of using gloss paint). Don't rub too hard otherwise you'll take off the base coat.

Are you ready? Cause here it is. You've been good, so I think you're desrving of this masterpiece.. So yup, Here is the finished product!!!!


Here's the before before picture:

What a difference!!!

I'm officially obsessed with it! I almost packed it up in my car and took it to work to proudly display in my cube for the office to see. I LOVE IT!! AND it matches the headboard SO well and is so pretty! I think it is adulty, and will work in James and my bedroom (when we get one) and I just want to cuddle with it because I'm a proud mom of a nightstand!

So total cost breakdown:
$1.58 lemons
$6.43 stencil (on sale and a coupon!)
$2.12 dobbing brush (on sale and a coupon!)
$3.20 gray sample paint

Total cost: $13.33!!!!!! For an antique nightstand! What a deal!

So here are my tips-
TIP: Painting tape is great, but I was too impatient and excited to use it. But it's also not perfect for deep crevices or curves (which is what I was working with).
TIP: For those small/detailed areas, use a small brush and sparing paint. Having to much causes globs and it's easier to do a second coat than to have to sand, strip and start the process all over again.
TIP: Get an idea of what your goals are for the project. Your creative juices will get flowing and more will come to you, so be open and try it, and if you don't like it, you can always start over.
TIP: Don't rush, take your time with every step. You'll thank yourself later!

I'm so happy that this is my first flip! I'm so proud of myself for completing this, and especially in just a week! I think this was a great stepping stone to bigger and more intimidating projects, but I'm ready to take on any challenge now, and I think I have the perfect thing to start next!

Stay tuned, stay crafty and stay confident!

Tuesday, September 27, 2011

Headboard and Hardwork!

In my quest to re-do my room, I decided I needed to re-cover the fabric headboard I have. My parents made it for me (see where I get my crafty-ness from?) when they re-did my room when I was 12. It looked great, but the fabric isn't really matching anything I'm going for now, plus it's old, a little ripped and it's just time for a change.. hence my whole room re-decoration project!

Here's the before picture!

Now I had help from my parents, which I'm grateful for. I had my ideas about how I was going to recover it, but their experience with the fabric headboard helped. I started ripping off the fabric, but it turned out that the fabric I bought could go right over the old, and you can't see it at all! Perfect cause ripping off the old fabric was a total pain in the.. you know where. Now, I was going tack on the new fabric from the bottom, and then do the two sides and finish with the top. It was easier to do the sides, so that way the pattern can be set straight on the headboard. Then I did the bottom and doing the top last worked great so I can fix any wrinkles, bunches, whatever.

TIP: Find a thick fabric, using upholstery would be best! This will hold together all the badding, but also hold up against the wear and tear it'll go through. TIP: Try using an industrial stapler, you need something that will go into the wood and hold it all together. A hammertack was too much to try and swing it while holding the headboard. It proved to be a dangerous situation. TIP: Lay it out across the front and try to make sure the pattern (if any) is straight, or how ever you want it.

Now to the top. Because of the heart shape, it was pretty hard for me to love this project. Also I was facing the back the whole time, so I couldn't see my work coming together but that also made the reveal even better!

Anyway. It was pretty difficult to get the fabric smoothed out over curve and not have it bunch together in the center. So I tacked the top of each curve, then snipped the fabric at the center and stapled it from the top of each curve and worked inward. Then did the top out to the corner.

This was pretty time consuming, and I definitely worked up a sweat! It was a ton of lifting, moving, smoothing, restapling, just a lot of hard and tedious work! But here's the finished product!


I LOVE IT! I think it looks really soothing and calm, and I just can't wait to make my bed and lay down and look at it day in and day out! I think it's very adulty, but also it's not too feminine so when James and I move in together, we'll be good, and I won't have to go through this again!

Stay Tuned, Stay Crafty and Stay Inspired.