So the finishing touches: add on the handle, and paint the details, and design the edges. Easy right? NO! Well reattaching the handle was..
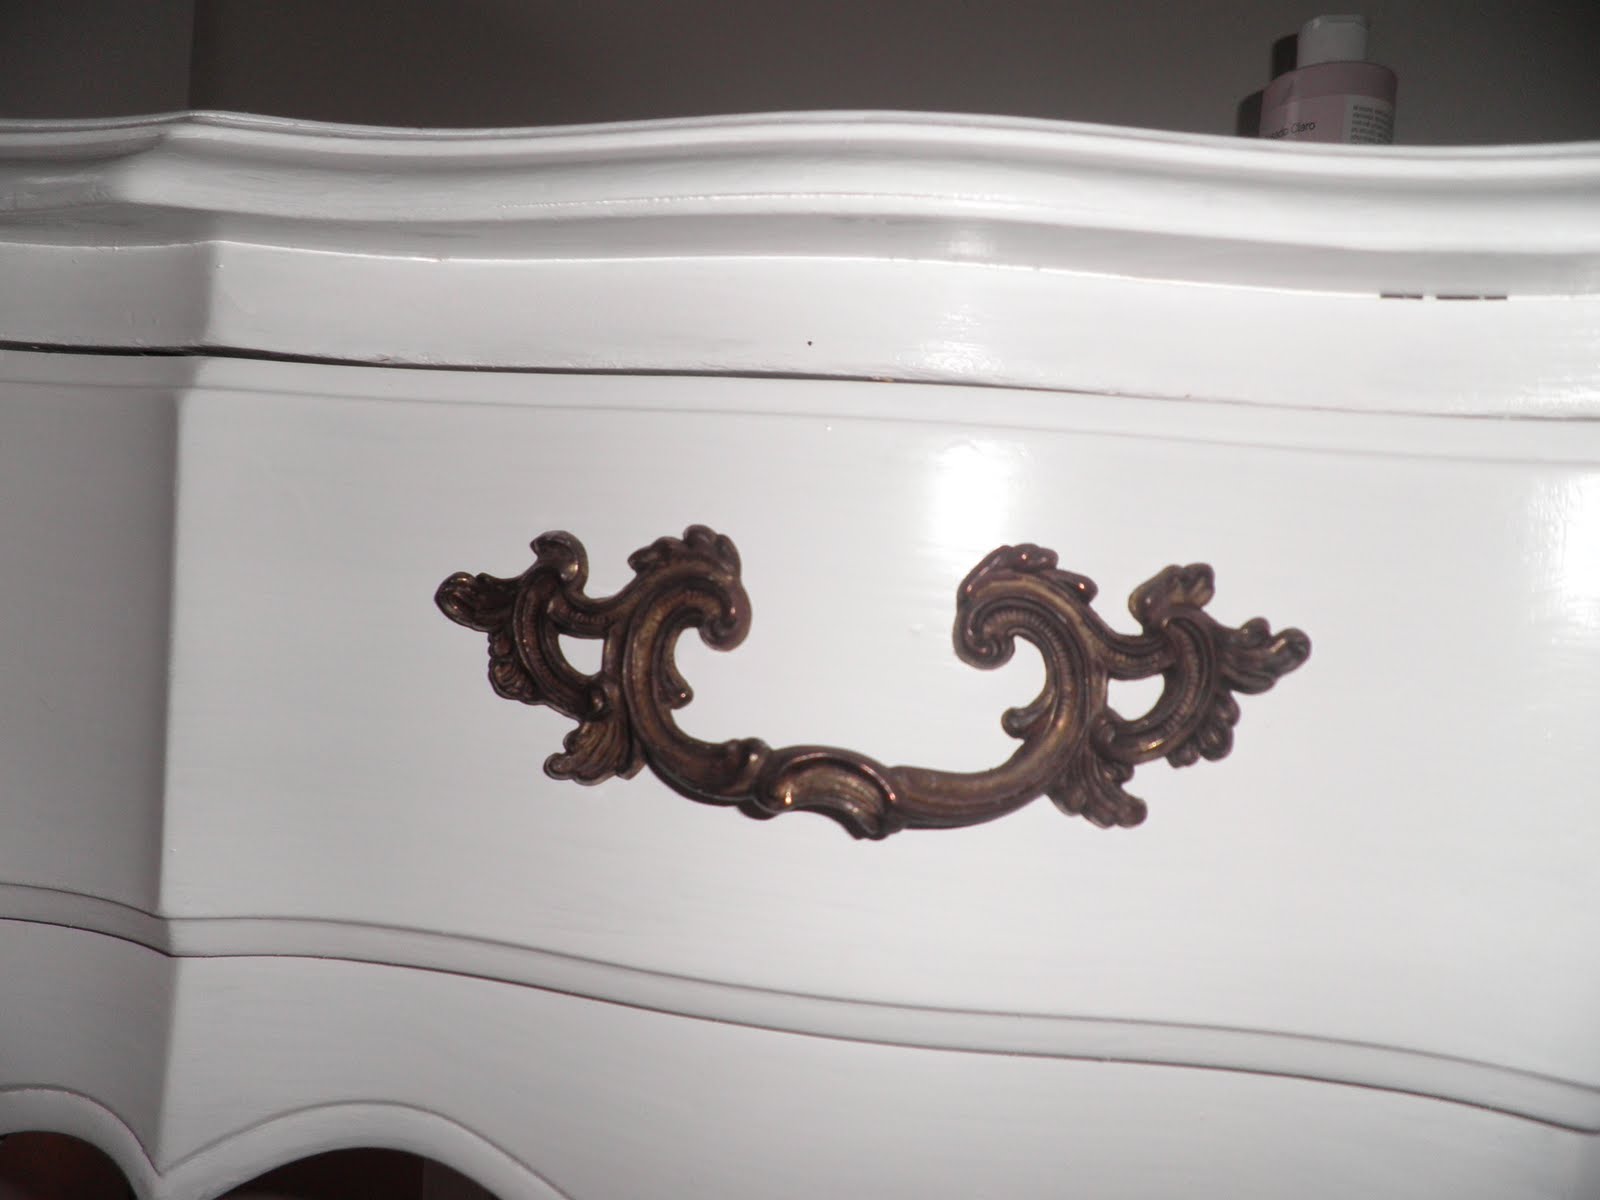
Here are the pictures with the 2nd coat of paint on and what I started with for the night.

So first, I painted the drawer edging blue, I did use tape for this part. Here, the tape worked great, especially because the curves in the wood made it a little difficult.
Then I painted the edges of the detailed section blue, and I decided to paint the edge of the legs to make them stand out a little more in the same color. I did use tape one on leg, but the amount of time it took compared to how impatient I am wasn't worth it. Plus, not having a ton of paint on the brush and using a small artist's brush was just what I needed! After I painted one edge of the leg, I realized I needed to paint the other because it didn't look right otherwise.
I also decided to paint the edge of the surface (again in blue) to make it pop a little more, and I think it really looks awesome!
So now for the detailed sections:
Going with my new bedding, I decided to paint the soon to be fabulous section gray. I bought a stencil at Michael's and wanted to put it on the detail of the nightstand. So I cut the section of the stencil I wanted, and used painter's tape to place it where I was going to paint it. Then I took a dobbing brush and painted blue over the stencil.

So both sides are stenciled and all the edges are painted! I went back over each area, and if I smudged paint, I took a wet paper towel and sort of rubbed it off (the beauty of using gloss paint). Don't rub too hard otherwise you'll take off the base coat.
Are you ready? Cause here it is. You've been good, so I think you're desrving of this masterpiece.. So yup, Here is the finished product!!!!


Here's the before before picture:

What a difference!!!
I'm officially obsessed with it! I almost packed it up in my car and took it to work to proudly display in my cube for the office to see. I LOVE IT!! AND it matches the headboard SO well and is so pretty! I think it is adulty, and will work in James and my bedroom (when we get one) and I just want to cuddle with it because I'm a proud mom of a nightstand!
So total cost breakdown:
$1.58 lemons
$6.43 stencil (on sale and a coupon!)
$2.12 dobbing brush (on sale and a coupon!)
$3.20 gray sample paint
Total cost: $13.33!!!!!! For an antique nightstand! What a deal!
So here are my tips-
TIP: Painting tape is great, but I was too impatient and excited to use it. But it's also not perfect for deep crevices or curves (which is what I was working with).
TIP: For those small/detailed areas, use a small brush and sparing paint. Having to much causes globs and it's easier to do a second coat than to have to sand, strip and start the process all over again.
TIP: Get an idea of what your goals are for the project. Your creative juices will get flowing and more will come to you, so be open and try it, and if you don't like it, you can always start over.
TIP: Don't rush, take your time with every step. You'll thank yourself later!
I'm so happy that this is my first flip! I'm so proud of myself for completing this, and especially in just a week! I think this was a great stepping stone to bigger and more intimidating projects, but I'm ready to take on any challenge now, and I think I have the perfect thing to start next!
Stay tuned, stay crafty and stay confident!

